Earlier this afternoon, I cooked a cheeky Chicken Breast Fillet Curry for myself and it came out awesome.
Perhaps too awesome, as when I sent a photo to my wonderful wife to tease her, she promptly instructed me that I had better have some Chicken Curry waiting for her when she got home.
Being the good husband that I am, I was only too happy to oblige.
Now, for those who do not live in South Africa. We have this thing called ‘Load Shedding’. Load shedding, is where the electricity is turned off for 2.5 hours at a time. It can happen from once a day or even up to 6 times a day depending on what stage we are on. Today we are on stage 4, so it goes off 4 times.
I had just over an hour to cook and was feeling a little lethargic. I had just finished cooking and I had just eaten a delicious meal. Of well, the things we do for love.
Lucky I have a really quick and super easy method to cook a chicken curry.
Speaking of love. I also had to cook a 2 piece chicken stew for our 5 year old girl at the same time. She has not yet accepted her fate that she was born into a house of curry fanatics.
PLEASE NOTE: I decided that if I was going to cook a meal that I may as well make a double portion for tomorrow as well, so although the photos will show ingredients for 2.5kg chicken, I will quote the quantities for 1kg so that you can scale up or down according to how much chicken you wish to transform into a delicious Durban Curry.
Let’s get started.
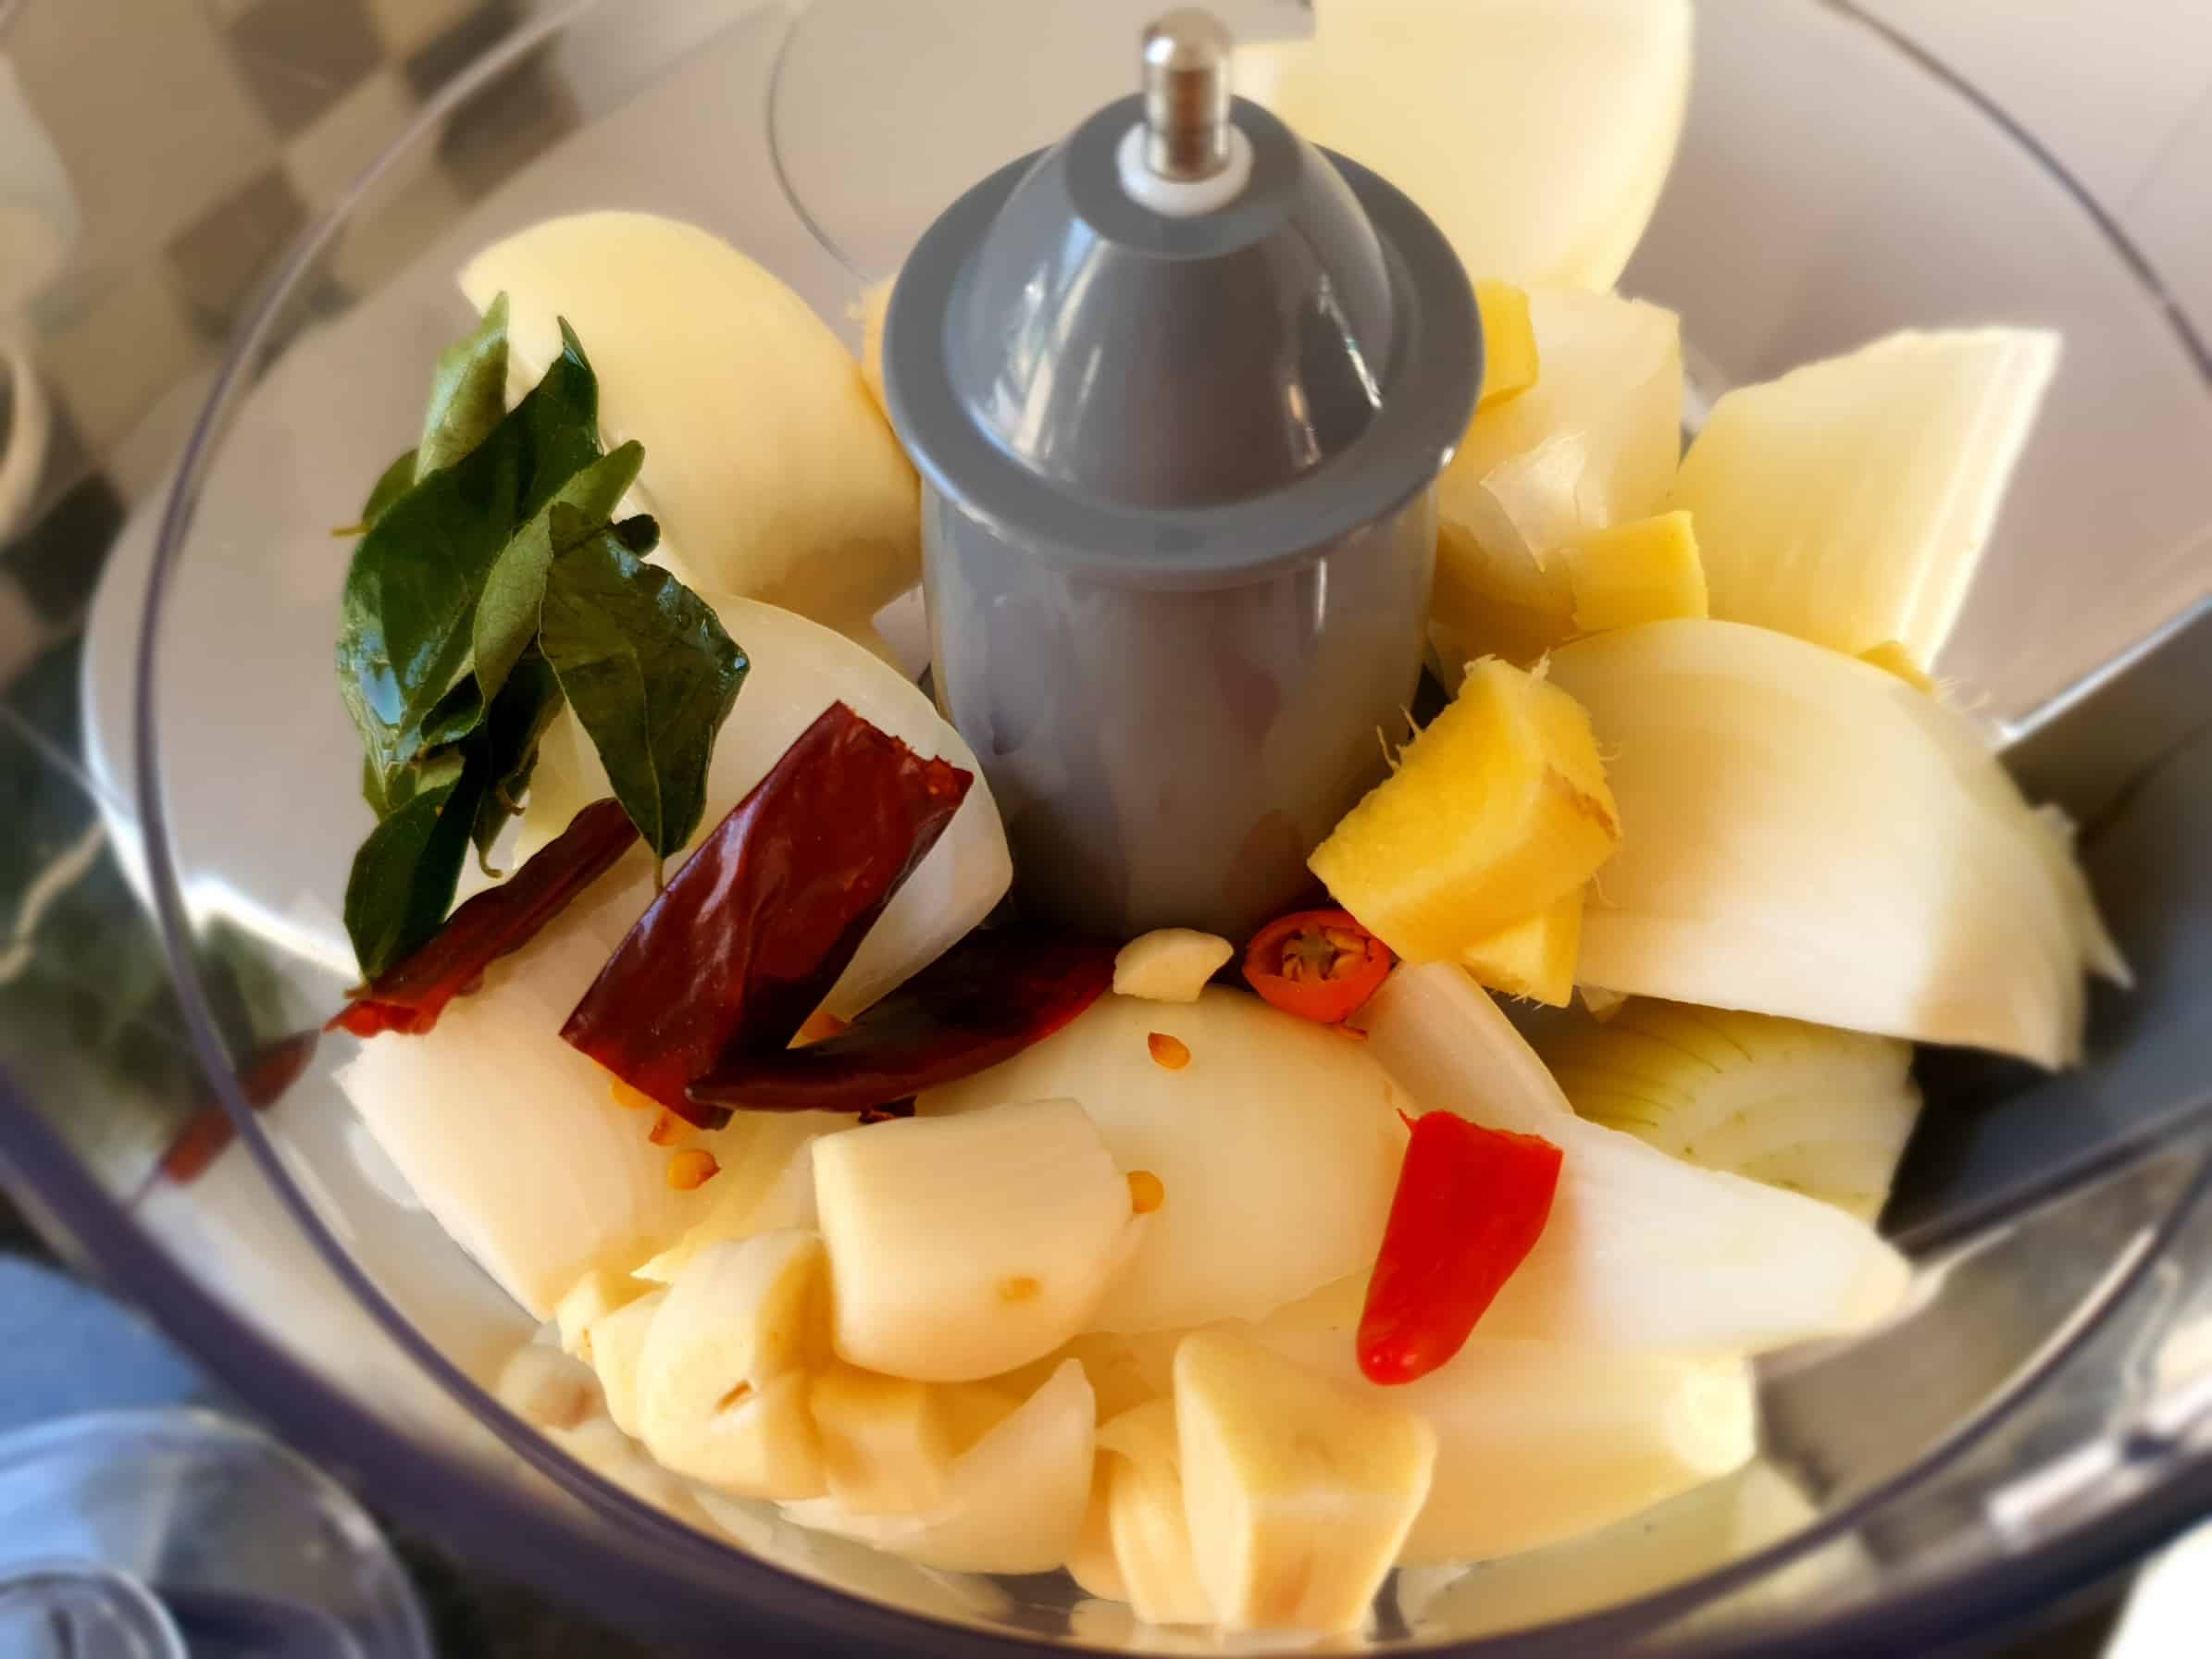
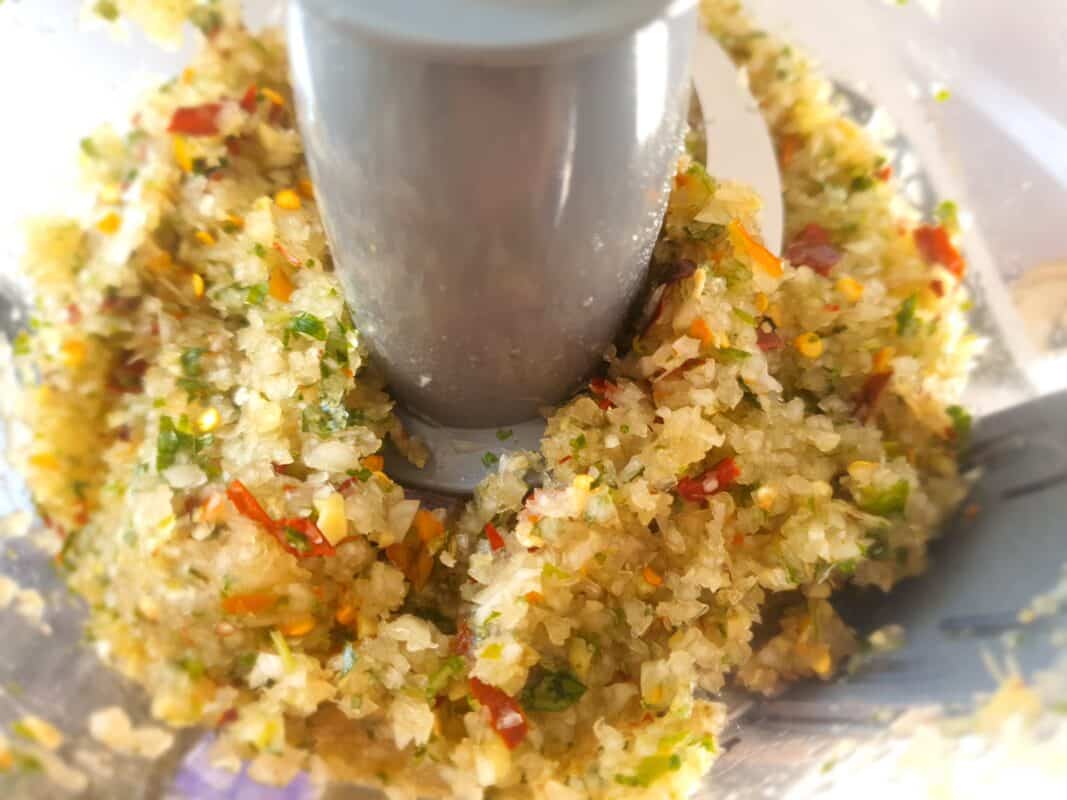
I took 2 onions, 2 fresh chillies, 2 cloves of garlic & a thumb sized piece of ginger and blitzed them in my food processor, using the S-Blade. Remember, we are not blending here, we are chopping. We want the onions finely chopped but not pureed.
Using a food processor is my new go to method to chop my onions. I have chopped enough onions in my life to not need to hand-chop them to ‘feel like a real chef’. I may change my mind at any time, but for now, all hail to this marvelous time-saving device.
When cooking a chicken curry, one of the most important choices are whether to cook with the skin on or to remove the skin. People are divided on this one, some say that the skin gives more flavour and other insist that the skin makes the curry too oily and that it must be removed.
I find that if I remove the skin from the chicken, then the chicken breaks up too easily. I therefore choose to cook with the skin still on the chicken. (besides, this is a quick & easy recipe, so who really wants to be standing removing skin from chicken pieces)
One of the consequences of cooking chicken curry with the skin on, is that there is quite a bit of natural oil released from the chicken skin whilst cooking. This can lead to a fairly oily curry, especially when combined with the half-cup or so of sunflower oil that is normally recommended for every kg of meat that you are cooking in a Durban Curry.
My method to cook with as little oil as possible
To counter this, I try and cook a chicken curry with as little oil as possible. This poses a challenge, in that you need oil to cook down your onions and especially to temper your spices.
I have been experimenting with using water to help soften the onions and to prevent the masala burning when tempering. The less oil that you use, the faster your pot cooks dry.
I will write a bit more about this in detail, but for now I will just share the basics.
- Add oil or ghee, for this cook I used a teaspoon of ghee, and let it melt
- On a slightly lower heat than normal, add the onions and allow to fry until the pot cooks dry
- Add a little hot kettle water to the onions, give them a good mix and let them ‘simmer’ until the water has cooked off. If they are not soft yet, add another splash of water and repeat until they are soft. Once the water has cooked off, they will brown. (I find that the water actually ‘lifts’ the oil that may have been absorbed into the onions, which then helps the onions to fry in a weird soft of recycling cycle)
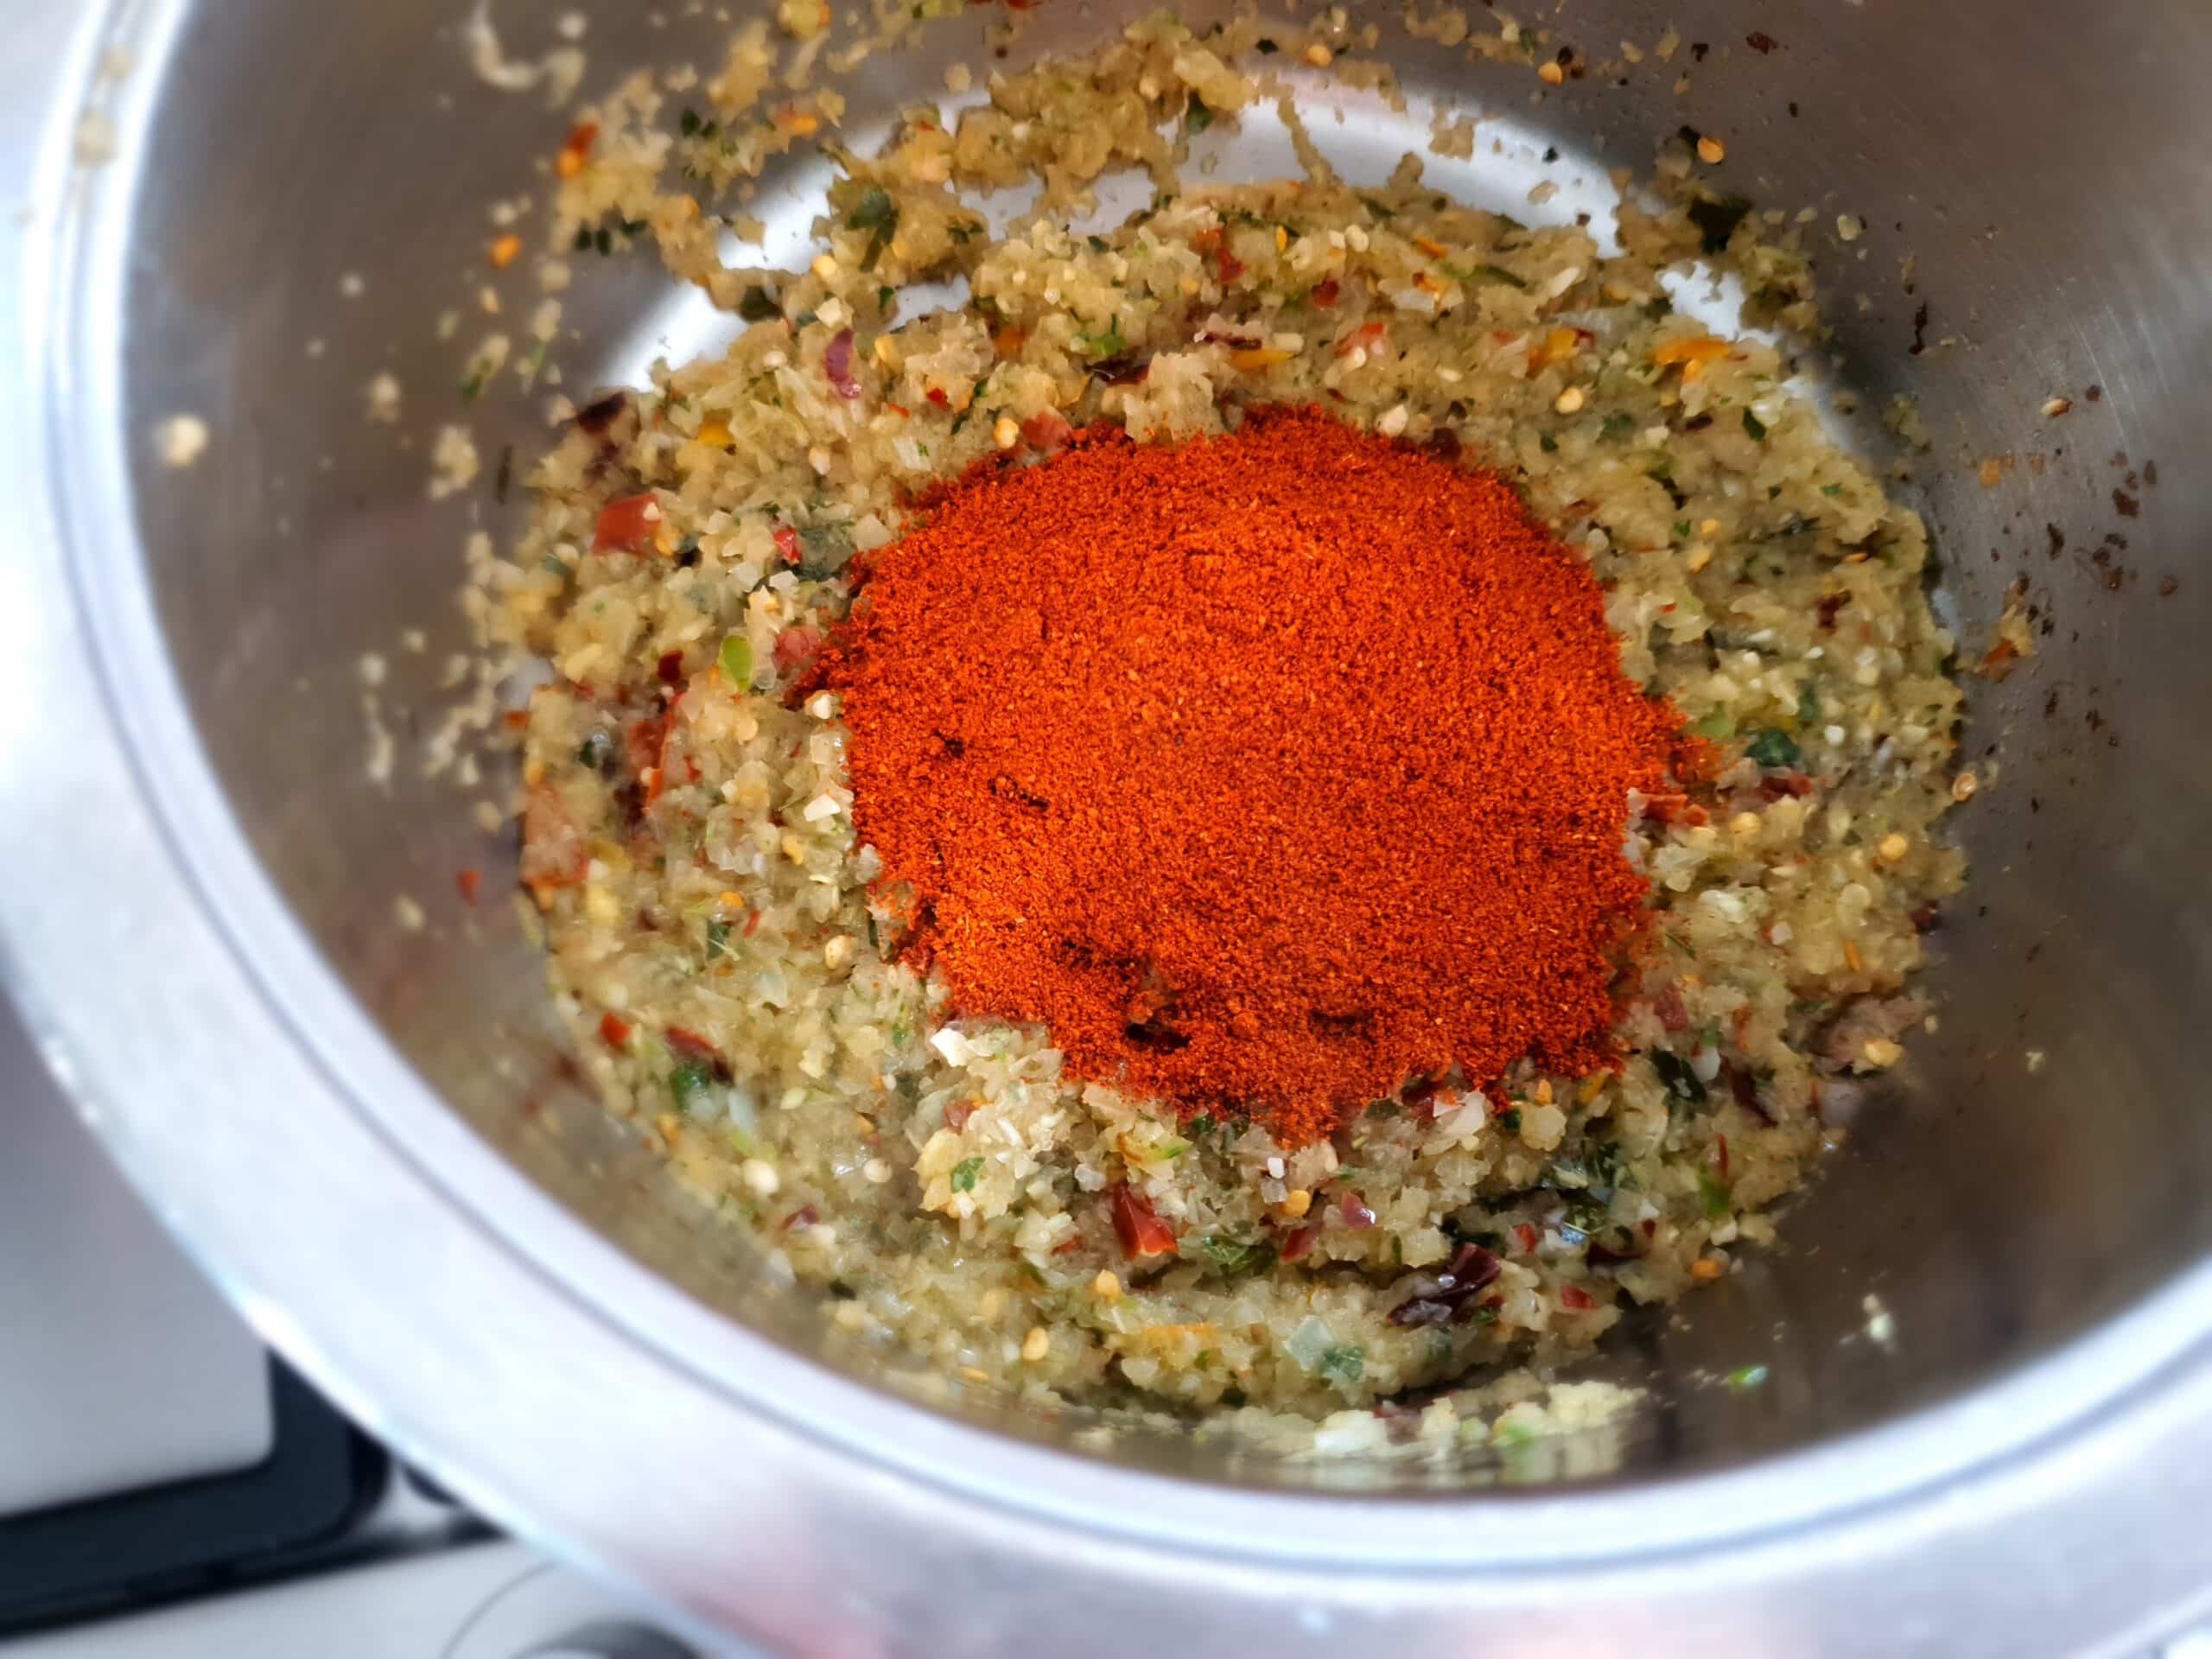
- When your onions are nice and soft, then add the masala and simply repeat the above process of adding a bit of hot kettle water when the pot goes dry, mixing, and then letting it cook down again to a ‘fry’.
You will be shocked when you see the changes in your masala, in terms of colour and fragrance, when that water hits. To me, it makes it come alive.
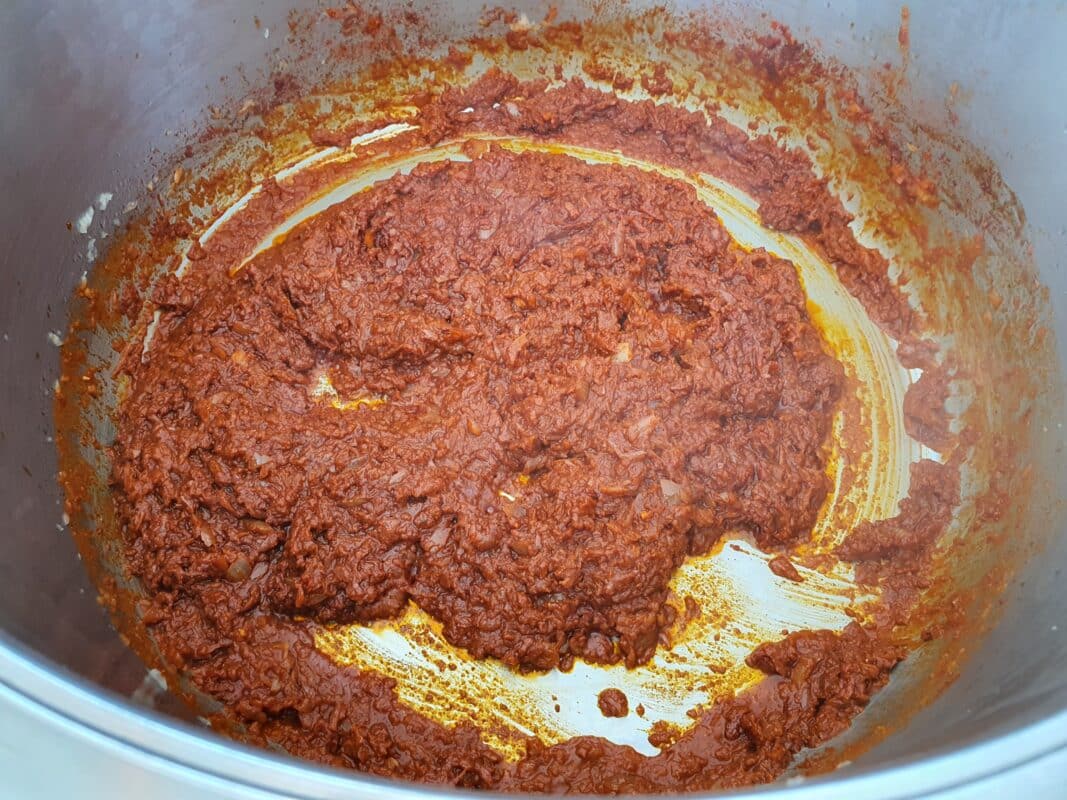
Right, so now we have done our onions etc and our masala, we are ready to add the tomatoes. We should be about 10 minutes into the cook.
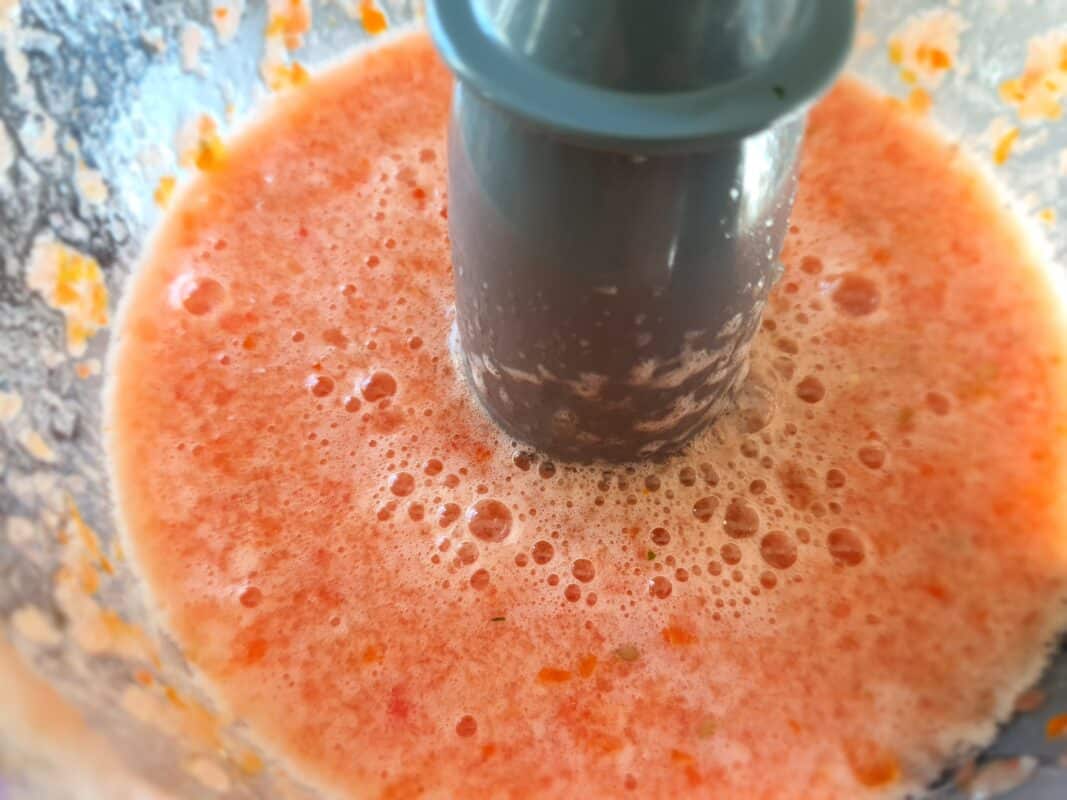
Again, I use the food processor to chop the tomatoes. I I cut them into quarters and then bomb them, skin and all, into the food processor. 15 seconds later, they are ready to add into the pot. (As tomatoes and salt are great friends, I add a bit of salt in with the tomatoes when I blitz them.)
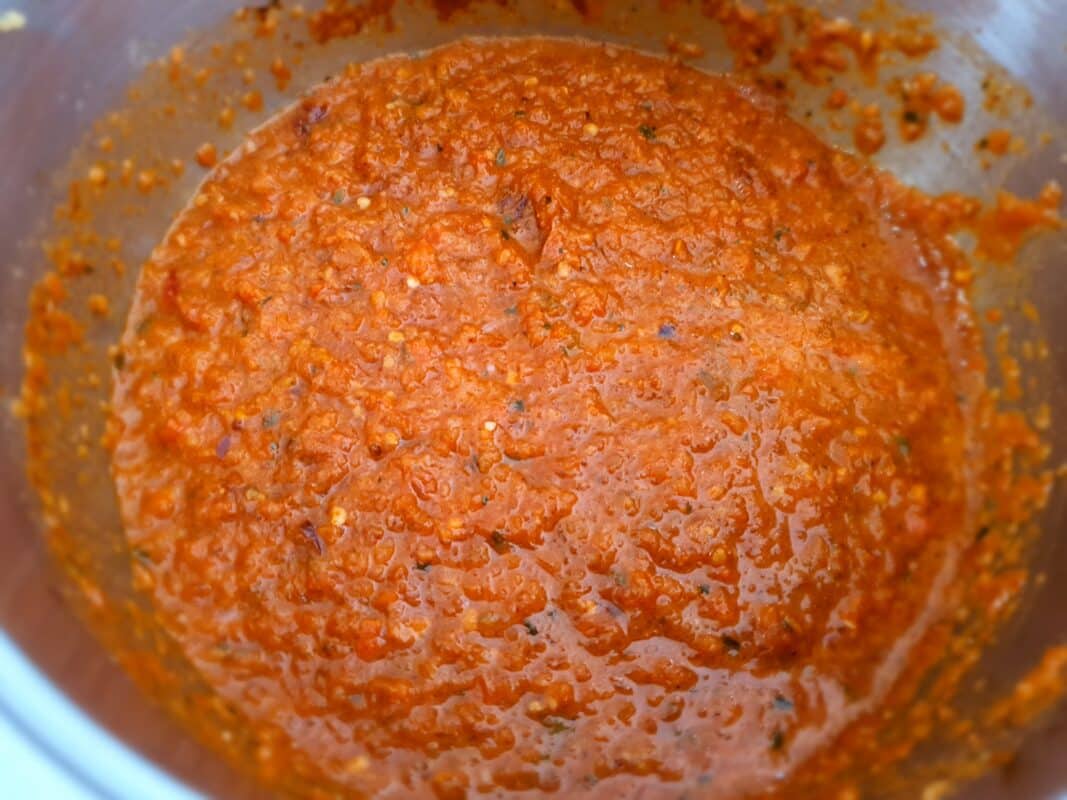
When the tomatoes have cooked down and the oil starts to separate, then it is time to add your chicken & potatoes. If you are cooking whole potatoes, you may need to add them 5-8 minutes before the chicken pieces. It all depends on the size of the potatoes and the size of the chicken pieces.
HINT: When I start to prep, I like to take the chicken out the fridge, so that it can come to room temperature. I sprinkle a little masala on the chicken and let it ‘marinate’ a bit in the hopes that the masala will penetrate into the chicken. I do not know if this works or not. I may need to investigate this further.
Time to add the chicken
Now it is time to add the chicken and the potatoes, as per above.
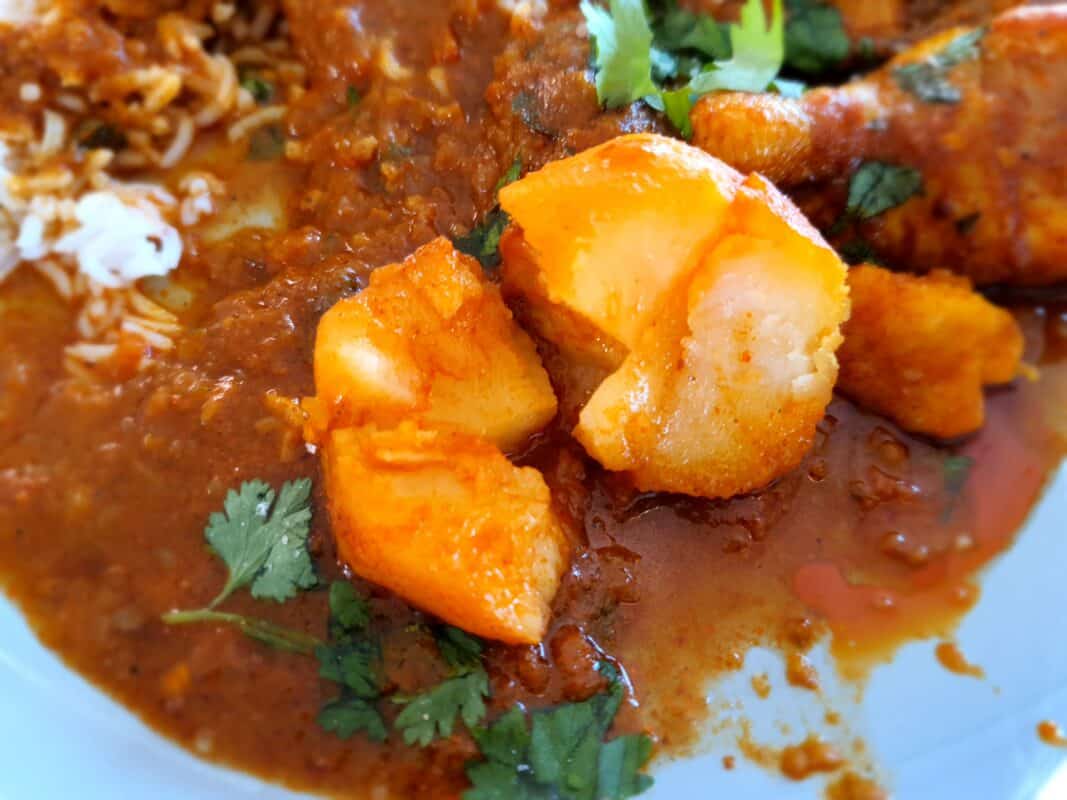
Don’t forget to poke your potatoes with a fork, so that they can absorb that lovely gravy.
Read this article on How to get those beautiful yellow potatoes in a Durban Curry
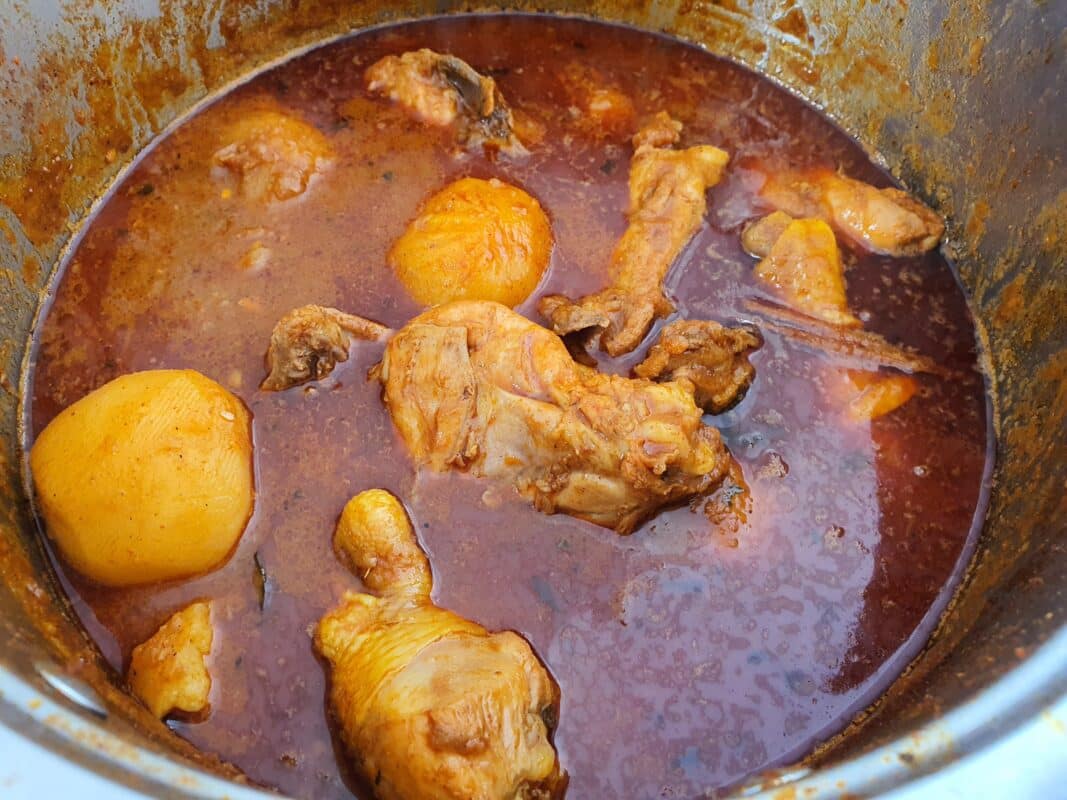
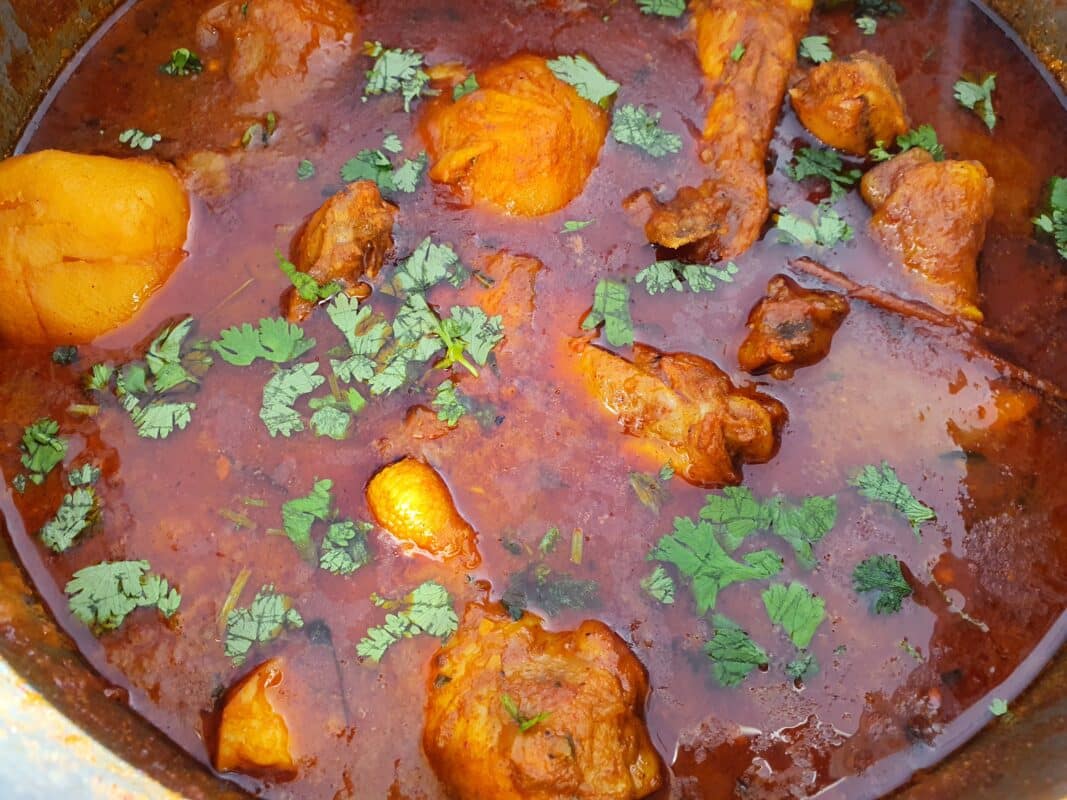
After you have added the chicken, you may need to add some water. Keep adding if and when the pot starts to cook dry.
TIP: I cook with a flat wooden spatula. It is awesome to scrape the bottom of the pot. I can not even remember the last time that I burnt anything.
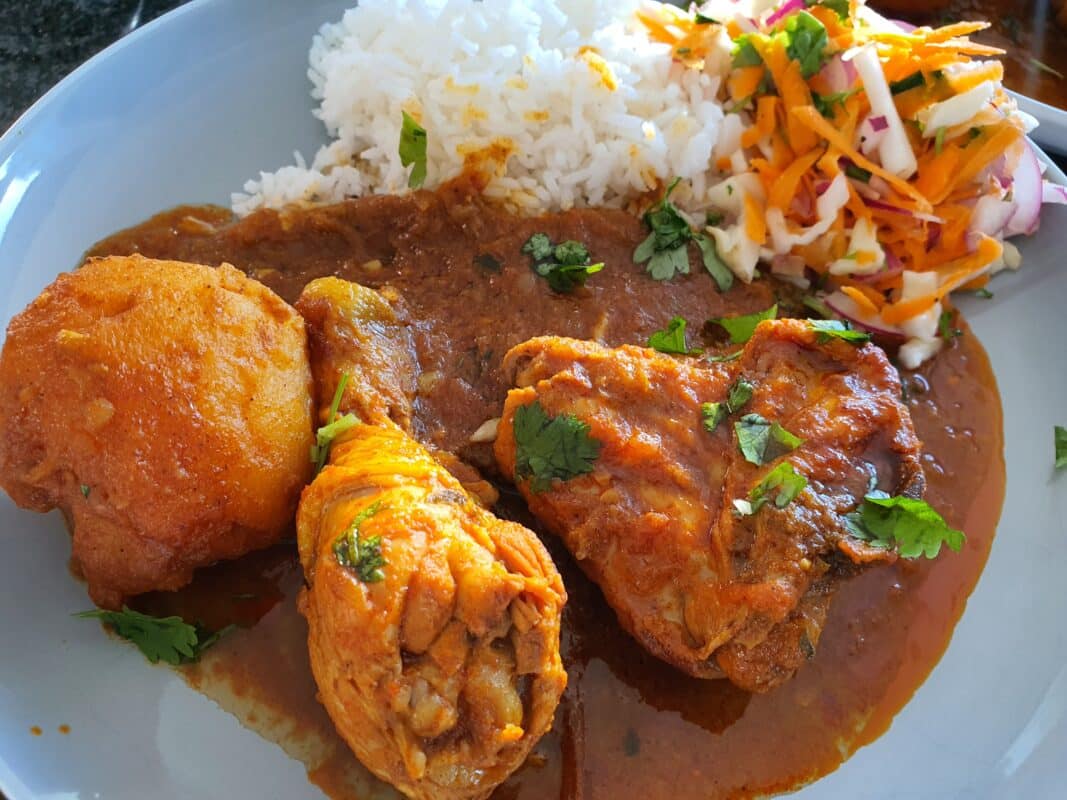
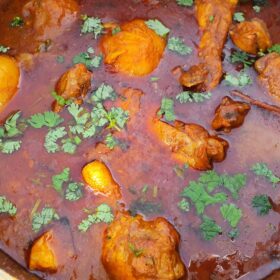
When the chicken is cooked and the potatoes are soft, turn off, remove from heat and let the curry stand for at least 10 minutes.
Garnish with some fresh dhania (corriander) and serve with some fresh sambals, roti, rice, as a bunny chow or however you enjoy it.
PrintRecipe per 1kg of Chicken
- Prep Time: 10
- Cook Time: 50
- Total Time: 1 hour
- Yield: 3-4 1x
- Category: Durban Curry
- Method: Easy
- Cuisine: Indian
Ingredients
- Sunflower Oil or Ghee
- 2 Medium sized onions
- 2 Cloves of fresh garlic
- Thumb sized piece of ginger
- Fresh chillies (optional)
- Curry leaves
- Durban Curry Lovers, all-in-one Masala (30g or 4 tablespoons per 1kg chicken)
- 3–4 Jam Tomatoes (chopped into a puree in food processor, or grated if done by hand)
- 1kg chicken pieces
- 2 Potatoes (whole or halved)
- Salt
- fresh Dhania (coriander leaves)
Instructions
- Place the onions, chillies, garlic, ginger, a few curry leaves & chillies into a food processor (S-Blade is best) and chop with the pulse function until chopped but not pureed.
- Add your oil or ghee into the pot and heat. Add your chopped onion mixture and fry until soft
- Add the masala to the pot and let fry for a few minutes
- Place the tomatoes & salt into a food processor and use the pulse function to chop until they are pureed, add to pot.
- When the tomatoes are cooked down and the oil starts to separate, add the potatoes and the chicken as well as a few more curry leaves.
- When the chicken & potatoes are cooked, remove from heat, taste for salt and let stand for at least 10 minutes
- Garnish with fresh dhania and serve with your favourite accompaniments.
Notes
If you do not have a food processor or if you simply prefer to chop by hand, then finely chop the onions and grate the tomato.
Keywords: Durban, Chicken Curry